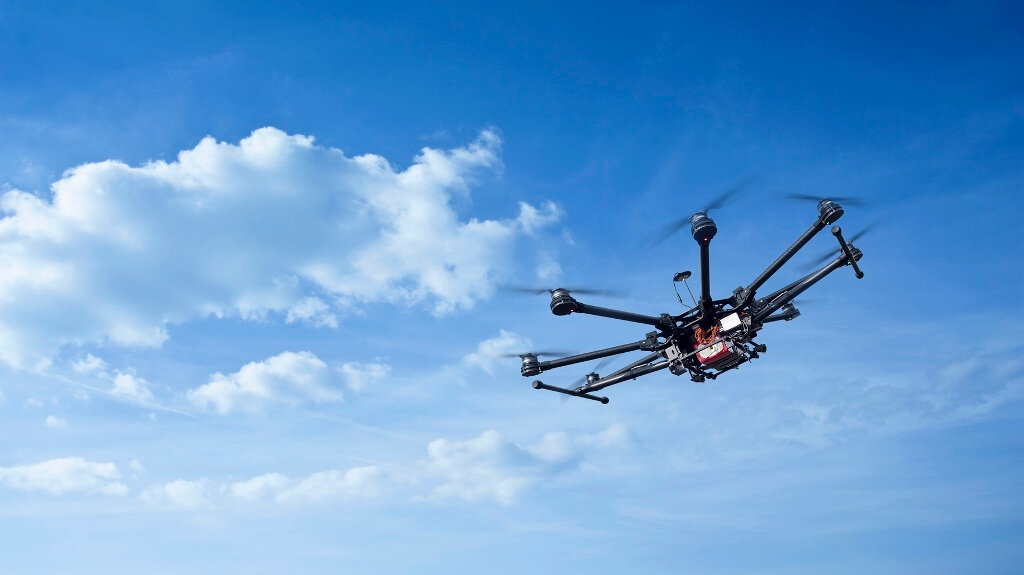
Drones are taking the world by storm. These clever little devices give everyone the opportunity to get shots that would have previously required a million-pound helicopter. Suddenly, the aerial shot is democratised in a way that we have never seen before.
As such, many people are considering getting into drone photography, whether for business or pleasure. It’s a massive opportunity and a major boon for anyone interested in photography.
Drones are improving all the time. Many have high resolution cameras, gimbals for steady videos, and the ability to avoid mid-air collisions with other objects in the airspace automatically.
Getting started, though, can be a challenge, so in this guide, you’ll learn everything you need to know about drones, how to capture amazing images with them, and what they’re capable of doing.
Get To Grips With Camera Basics
If you’ve never attempted drone photography before, then you’ll need to get to grips with various camera basics. Fortunately, thanks to miniaturisation and improved camera settings, taking great shots with drones is easier than ever before. The technology now holds your hand a lot.
However, if you are a beginner, it still pays to learn a little about how the technology works.
Image Size
Drones will offer a variety of image resolutions up to the maximum afforded by the camera itself. Most devices will come with HD - either 720p or 1080p or both. And some high-end models will also offer 4K, which is essentially the same resolution as four 1080p images arranged side by side. Lower resolutions, such as 480p may also be available, depending on the onboard software.
When choosing an image resolution, carefully consider your purpose. HD will suffice in most applications. However, you may want to go beyond this in certain areas.
Live Streaming
You’ll also want to consider whether live streaming is an important aspect of your drone photography. Do you want to take videos and stream them directly over social media? Or do you want to record, then edit, and then distribute?
Some new drones offer the ability to do both - for instance the DJI Mavic Phantom - so long as there is an internet connection. However, you will likely pay more for these models, so carefully consider whether you actually need this feature before spending your money.
Gimbals
Gimbal technology is also vastly improved from where it once was. In the past, many gimbals were dual-axis. Footage, therefore, had a tendency to be shaky in some situations.
Today, though, technology has moved on. Gimbals now offer multi-axis and 360-degree movement, meaning that they are considerably more stable than they ever were in the past. This means that the drone can fly upside down and the image quality will remain the same.
Batteries
You’ll also want to consider the life of your drone’s battery. Most consumer and professional drones use lithium-ion technology. These are able to keep drones aloft for, perhaps 20 minutes maximum, before they need recharging.
However, there are other battery technologies, such as LiPo, which can keep drones in the air for longer. Thus, the type of technology that you choose depends heavily on how you intend to use the drone. If air time is important, then you may need to research beyond standard lithium-ion.
Image Capture Rate
Image capture rate refers to the rate at which the drone captures individual images to create a video. Standard drones typically offer 30 frames per second - slightly higher than conventional television screens.
High-quality drone cameras may offer 60 fps. There are also specialist drones that go above this to 120 fps. However, as the speed goes up, the resolution goes down. It is very unusual, for instance, to find a 4K drone that will also shoot at 120 fps.
Learn The Camera Settings
Drone manufacturers know that the main appeal of their products is their onboard cameras. Therefore, they equip them with multiple settings options, allowing you to calibrate them however you please.
As a beginner, though, it can sometimes be challenging to know what all these settings mean, so we run through them here.
Choose Your Image Format
The first step is to choose the image format in which you want to shoot. There are many different ways you can save image files, from JPG to RAW.
Before you take any shots, think about the type of effect that you want to achieve. JPG files are great when you want to save your memory. However, RAW is better when you want to preserve all of the details in the original image.
If you plan on editing your photos later, then RAW is arguably the best option. In this format, you can account for every pixel, making edits easier later on.
Colour
Some manufacturers give you the option to change the color balance of your images. You should be able to find both color and exposure settings in the options.
When you change the color, you can add saturation, helping you bring monotonal images to life. If you change the level of exposure, you can capture images better in low light conditions.
You may also have an option for white balance. This allows you to adjust the so-called “temperature” of the image. Manufacturers do this automatically for you, but you can also use it to great effect, particularly on dark days.
If you don’t understand these settings, you don’t necessarily have to calibrate them before you begin shooting. Most photo editing software allows you to adjust settings afterwards.
Set The Frame
Lastly, if you’re using your drone for professional shots, you’ll want to consider the frame. Quality drones often provide you with a grid overlay, showing you the various proportions of the shot. You can use these guides to include various elements in your shots, improving how they look.
Framing is often a matter of personal preference, so there are no hard and fast rules here. Generally, breaking your images into a three-by-three grid and then inserting various elements into each part works best.
Master Shooting In HDR
HDR stands for high dynamic range and is a new visual technology that allows screens to display deeper blacks and better contrast. It’s similar to the OLED technology used on many modern smartphones.
Shooting in HDR produces more true-to-life images. As with any technology, it’s not perfect, but it does produce some spectacular results.
To shoot in HDR, start by switching the option on in your drone (if it has one). Next, select the AEB option which tells it to take several photos in quick succession. If you can, slightly adjust the exposure length for each shot so that you wind up with a range that you can choose from.
Additional Tips
In this last section, we run through some of the additional tips you need to know before you start your drone photography adventure.
Practice Your Flying Skills
Taking photos with your drone is one thing, but if you can’t fly the device properly, you’ll struggle to get the results you want. Always practice your flying skills. It is easy to start, but takes a long time to master.
You’ll need to practice individual skills, such as climbing, approaching and pivoting individually. If you are struggling to get the coordination right, you can hire a drone instructor to guide you through some of the basics.
Get A License
In some jurisdictions, you may need a license to fly a drone. Most countries have rules about who can fly, and where, to prevent drones from flying into aircraft.
Check the registration for your area. There may be different rules for commercial and recreational users.
Get Insurance
Camera insurance is important in general, but it is particularly critical for flying drones. Drones are prone to damage and the risk of liability is higher.
Don’t Focus Too Much On Image Quality
Getting the right shot with a drone is actually easier than you think. So long as you collect enough detail in your aerial shots, you should have sufficient detail. The key is to include sufficient features.
So, for instance, if you’re taking aerial photos of residential properties, you’ll want to include both the house, the garden, the pool, perhaps part of the neighbouring properties, and the street at the front.
Choose A Quality Drone
Lastly, but perhaps most importantly, you’ll need to choose a quality drone. Not all drones offer the same image fidelity. Some are excellent and have cameras borrowed from the smartphone market, but others are lacking in this area.
Ideally, cameras should be at last 12MP. That’s because, if you want to zoom in on images, you’ll need at least this level of detail to do so. You’ll also want a drone that films in 30 fps (the industry standard). Less than this and your videos will appear jerky and lack flow.
You’ll also want to consider flight times, particularly if you’re just starting out. If your drone can only spend five minutes in the air, then you might not have time you need to position it to get the perfect shot.
Most read in News
Trending articles on News
Top articles on Minutehack
Drone Photography Is The Next Big Thing: Here's How To Get Onboard
Thanks for signing up to Minutehack alerts.
Brilliant editorials heading your way soon.
Okay, Thanks!